The Questionnaire feature allows you to create custom questions that users will need to answer before they submit an incident request. Each questionnaire is tied to a problem type. When that problem type is selected on an incident request, the questionnaire will appear giving the user extra questions to answer before they submit. This helps to give the IT staff more information to troubleshoot the issue being reported.
Creating a Questionnaire
- Click on the Add link in the Actions menu.
- Click the Questionnaires link.
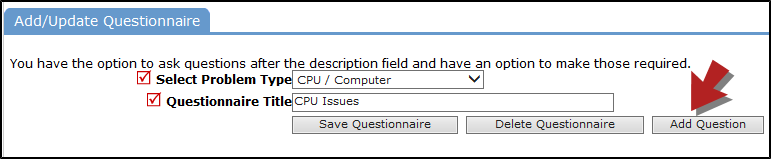
- Select the Problem Type that this questionnaire will be associated with. *Note: There can only be one questionnaire per problem type.
- Create a Questionnaire Title.
- Click Add Question.
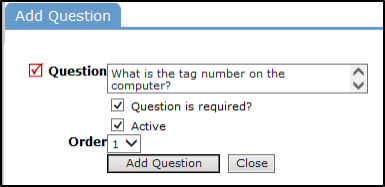
- The Questionnaire will be saved and a pop-up window will appear where you can begin entering questions.
- Type in the Question you want to add to the Questionnaire.
- You can require the user to answer the question by putting a check mark the Question is required? box.
- The Active box is checked by default.
- Select the Order in which the question will appear. For the first question you will only be able to select 1. When adding more questions, you will be able to select an order based on how many questions have been saved.
- Click Add Question.
- Continue adding questions until you are finished. Click the Close button on the Add Question window.
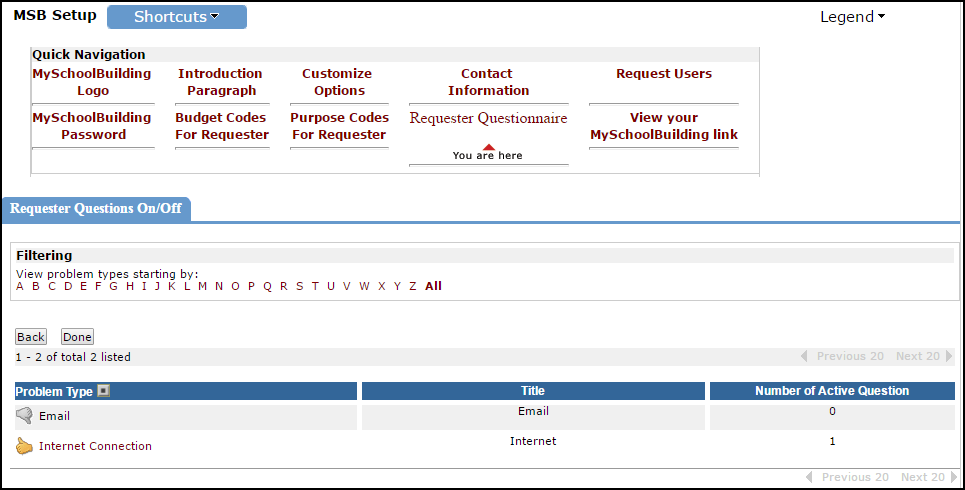
Activating Questionnaires for Requesters
Creating a Questionnaire will activate it for all users except Requesters. If you would like the Questionnaire to appear on the MySchoolBuilding page, use the following steps to activate it.
- Click on the Account Setup tab.
- Click the Setup MySchoolBuilding link.
- Click the Requester Questionnaire link.
- Click on the gray thumbs down icon next to the Questionnaire that you would like to turn on. This will change the icon to a yellow thumbs up and the Questionnaire will now be visible on the MySchoolBuilding requester page.